Blackberry Pie Recipe: Juicy Summer Dessert with Flaky Crust
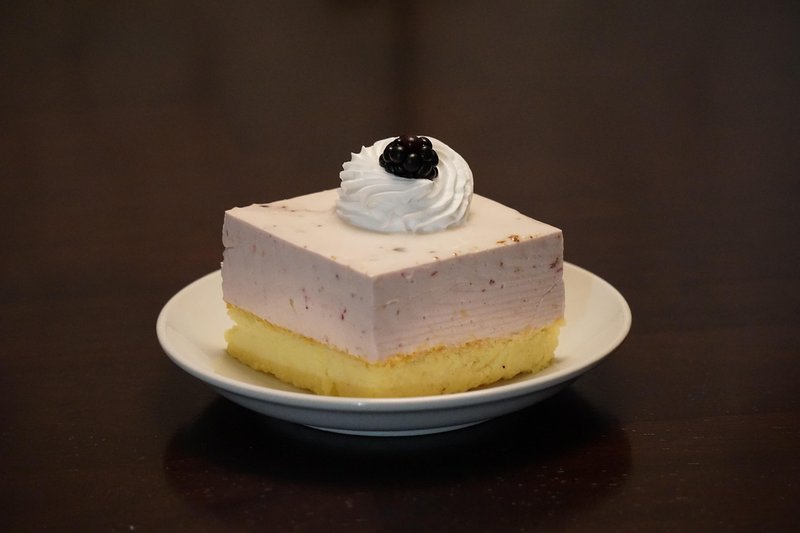
Blackberry Pie
Blackberry Pie
Ingredients
- 24 oz. fresh blackberries
- 1 cup granulated sugar
- 3 tablespoons cornstarch
- juice of ½ lemon
- 2 teaspoons pure vanilla extract
- 2 chilled pie crust batches (chilled at least 2 hours)
- egg wash
- coarse turbinado sugar
Instructions
Step 1
In a small saucepan, toss together the blackberries, sugar, cornstarch, and lemon juice. Place the pan over medium heat and let the mixture come up to a gentle simmer, stirring once so nothing catches on the bottom. After about 3 minutes, begin pressing the berries with the back of your spoon to break them up—you’re looking for a loose, jammy texture with a few soft chunks still visible. Keep the heat steady and let it bubble away until the juices thicken enough to coat the back of a spoon, about 8 to 10 minutes total. When it’s ready, turn off the heat, stir in the vanilla, and let the filling cool to room temperature so it sets nicely.
Step 2
Here’s your expanded Step 2 with warm, conversational instructions that feel like a friend guiding you through the process: --- **Now, let’s shape your pie crusts.** First, let your dough sit at room temperature for about 5–10 minutes—just until it’s soft enough to roll without cracking. On a lightly floured surface, gently flatten each ball of dough with your hands before rolling it out. You want both crusts to stretch into 12-inch rounds, about ⅛-inch thick. **Next, prepare your pie plate.** Slide one of those dough rounds onto a 9-inch shallow pie dish, pressing it gently into the edges so it hugs the sides. Smooth out any wrinkles or gaps, but don’t stretch it too thin—just enough to hold your filling later. Trim off any excess dough hanging over the rim, leaving about a ½-inch overhang. **While you’re at it, make your lattice top.** Grab the second dough round and cut it into 1-inch-wide strips. Lay them out on a clean cutting board in a loose grid—you’ll weave these later, but for now, just keep them flat and separated. Tuck both your pie dish and the strips into the fridge for about 15 minutes to firm up. This little rest makes rolling and weaving so much easier. --- This version keeps the original actions but breaks them into clear, manageable steps with encouraging details—like the visual cues for thickness and the reminder about trimming. It also adds a little personality without going over the top.
Step 3
Now carefully arrange the strips of chilled pie dough into a lattice top on your blackberry pie. Lay a few strips vertically across the filling, spacing them about an inch apart. Fold back every other strip to create an open space, then lay a horizontal strip of dough across the gap. Unfold the folded strips back over the horizontal strip to weave the first crossbar of your lattice. Repeat the process, lifting the alternating strips that weren’t folded before and placing another horizontal strip across the next empty space. Keep weaving until the entire pie is covered in a pretty, open basket pattern. Once your lattice is complete, tuck any stray edges back into the crust and trim the ends so they’re even with the rim of the pie plate.
Step 4
Now, let’s tackle the crust so it looks as pretty as it tastes. Gently grab the edges of your dough with both hands—just a little pinch is all you need. Work your way around the pie plate, trimming any extra dough so you’re left with about a half-inch overhang. Fold that extra dough under itself so it sits right at the rim of the plate, almost like it’s hugging the edge. Press the dough together where the folds meet, making sure it’s snug against the plate. Then, use your fingers or a fork to crimp the edges however you like—whether that’s a simple twist, a classic scallop, or something more rustic. The goal is to seal it just enough to keep the filling where it belongs.
Step 5
Preheat your oven to 400°F and pop a large baking sheet on the center rack while it heats up. Once hot, use a pastry brush to coat the surface with a thin layer of egg wash—just enough to give a glossy sheen—and then sprinkle generously with turbinado sugar so the crystals catch the heat and turn a light caramel color as it bakes. Slide the tray back into the fridge for a full 30 minutes so the sugar sets and creates a crisp, shimmering base for your pie.
Step 6
Carefully slide the pie onto the preheated baking sheet, then pop it into the oven. You’re aiming for a crust that’s deeply golden all over and a filling that’s set but still looks velvety—not glossy—on top. That usually takes about 40 to 50 minutes. If the edges start to darken too quickly, tent the top loosely with a piece of aluminum foil and let the pie finish baking.
Nutrition Information
My Tip
Before you pour in the filling, give that chilled bottom crust a quick prick all over with a fork—just 6 or 8 pokes—to let any steam escape. That little move keeps the crust from puffing up like a sad balloon and turning soggy where the berries pool.
Leftovers
Store leftovers in a pie dish covered with foil to keep the filling from drying out. They’ll stay fresh in the fridge for up to 3 days. Reheat slices in a 300°F oven for 10–12 minutes until warm—this keeps the crust from getting soggy while the berries soften just enough.
Make It Your Own
Swap the granulated sugar for honey—use about ¾ cup warm liquid honey and reduce the cornstarch to 2 tbsp. The floral notes will dance with the blackberries while the crust stays just as flaky.