Soft & Buttery Parker House Rolls Recipe | Golden Yeast Breads
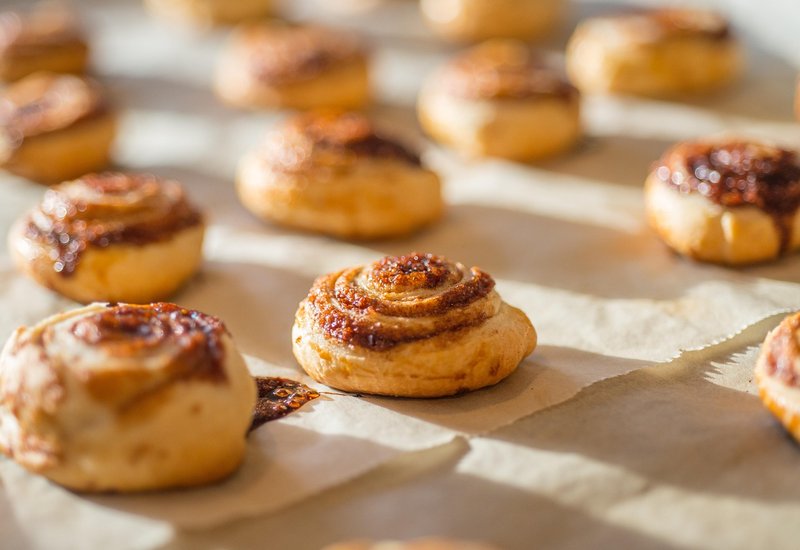
Parker House Rolls
Parker House Rolls
Ingredients
- One ¼-ounce packet active dry yeast (approximately 2¼ teaspoons)
- 1 cup of whole milk
- ¼ cup vegetable shortening
- 3 tablespoons granulated sugar
- 1½ teaspoons Diamond Crystal or 1 teaspoon Morton kosher salt
- 1 large egg at room temperature
- 3½ cups (438 g) all-purpose flour, with extra for dusting
- Vegetable oil (for greasing the bowl)
- 4 tablespoons unsalted butter, melted
- Flaky sea salt
Instructions
Step 1
Start by measuring your yeast into a small bowl. Add the warm water—aim for that sweet spot between 110° and 115°, just warm enough that it feels comfortable against your finger, not hot. Give it a gentle stir with a fork or whisk to combine, then let the mixture sit untouched for about 5 minutes. You'll know it's ready when the surface gets all foamy and bubbly, like a tiny science experiment happening right on your counter.
Step 2
Warm the milk first — heat 1 cup of whole milk in a small saucepan over medium heat until it's just warm to the touch, about 100°F if you're using a thermometer. While that heats up, grab a large bowl and toss in the shortening, sugar, and salt. Once the milk is ready, slowly pour it over the shortening mixture while whisking constantly. Don't worry if the shortening doesn't fully melt into smooth liquid — those little clumps are totally normal and will break down as you whisk. Keep going until everything looks well combined and the sugar has dissolved. Now add your yeast mixture and that room-temperature egg, whisking until the egg is fully incorporated and the mixture looks smooth. This is your wet base ready for the flour, so make sure there are no lumps before moving on.
Step 3
Now it's time to bring your dough to life. Turn it out onto a surface lightly dusted with flour and start kneading with floured hands, pushing it down and folding it over itself. Keep going for about 5 minutes, until it transforms into a smooth, elastic ball that doesn't stick to your hands. While you're kneading, drizzle a generous glug of vegetable oil into a large mixing bowl. Once your dough is smooth, pop it in and give it a gentle turn so it gets coated all over. Cover the bowl loosely with plastic wrap—you're creating a cozy little environment for the yeast to work its magic. Find a warm spot in your kitchen (I like to use the oven with just the light on) and let that dough rise until it's doubled in size, about an hour and a half. You'll know it's ready when you poke it gently and the indentation springs back slowly. Here's a pro tip: if you're not ready to bake right away, you can mix this dough up to 8 hours ahead. Just cover it tightly and pop it in the fridge—the cold will slow down the rising process, so it'll develop more flavor while you go about your day.
Step 4
Grab your largest baking dish (that 13x9 inch one you use for lasagna) and give it a light swipe with some of that melted butter. Now punch down your risen dough and cut it into four equal pieces — don't worry about being perfect here, just eyeball it. On a lightly floured surface, roll each piece into a 12x6 inch rectangle. You want it thin enough that you can see your hand slightly through it, but not so thin it tears. Cut each rectangle lengthwise into three strips, then crosswise into 4x2 inch rectangles — you should end up with about nine little pieces per original section. Here's where it gets fun: brush half of each rectangle with melted butter, leaving about a 2x2 inch section unbuttered. Fold the unbuttered side over the buttered part, pressing lightly to seal, and leave about a quarter inch at the end. You're basically making little butter pockets! Starting in the corner of your prepared dish, place each roll flat-side down with the folded edge pressed against the short side. Pack them in tight, side by side, then for the next row, flip the rolls so their folded edges face toward the previous row. Keep going until you have four neat rows filling your dish. Brush the tops generously with remaining melted butter, then cover loosely with plastic wrap and pop it in the fridge. You can let them chill for at least 30 minutes, or go up to 6 hours if you want to prep ahead. The cold rest is what gives these rolls their tender, pull-apart texture.
Step 5
Now it's time for the magic moment—pop those risen rolls into your preheated 350°F oven and let them work their golden transformation. In about 25 to 35 minutes, you'll know they're ready when they've puffed up beautifully and turned a lovely golden brown on top. While they're still warm from the oven, grab a pastry brush and give them a generous coating of that melted butter you've set aside, then sprinkle a pinch of flaky sea salt over the tops for that perfect sweet-and-salty finish. Let them cool just slightly so they're still wonderfully soft when you tear into them.
Nutrition Information
My Tip
Here's a specific cooking tip for Parker House Rolls: When kneading the dough after adding the warm milk mixture, don't worry if the shortening doesn't fully melt—it will incorporate during kneading and create those signature tender layers that make these rolls so pillowy soft.
Leftovers
Store cooled rolls in a paper bag inside a loosely closed plastic container for up to 3 days—this keeps the crust crisp while preventing them from drying out. Reheat in a 350°F oven for 5–8 minutes, or wrap in a damp towel and warm in the microwave for 15–20 seconds for soft, pillowy results.
Make It Your Own
Try swapping the all-purpose flour for bread flour to give your Parker House rolls a chewier texture and taller rise. The higher protein content will create a more substantial bite while still maintaining that classic tender crumb you love.