Perfect Caramelized Onions Recipe: Sweet & Jammy Every Time
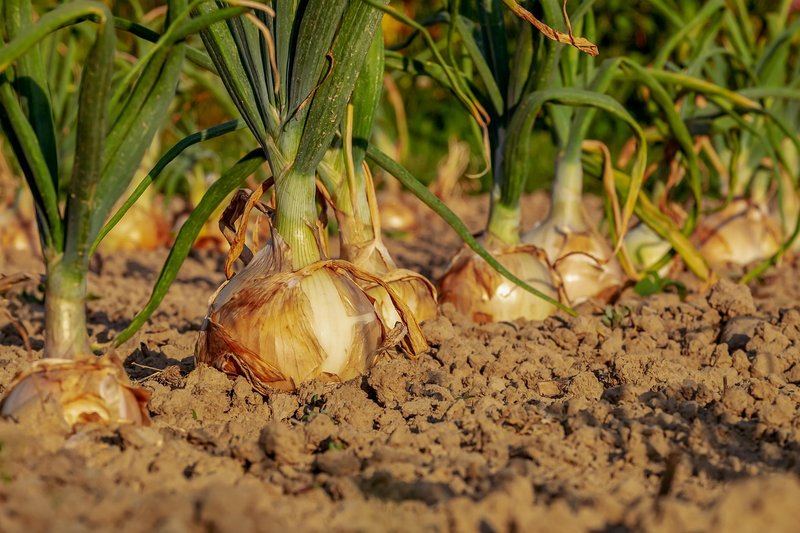
Caramelized Onions
Caramelized Onions
Ingredients
- Approximately one pound of two large onions
- Two tablespoons of unsalted butter
- Kosher salt to taste
- Optional low-sodium chicken broth or water for the pan
Instructions
Step 1
Peel away the papery skin from your onions, then slice them in half from root to tip. Turn each half so the root end faces you, and use the tip of your knife to carve out a little V-notch around the root, pulling that tough core right out—this trick keeps your slices from sticking together later. Now lay one half flat on your board and slice it into thin half-moons, about ⅛ inch thick, working from one edge toward the other; your knife will naturally glide through the root halfway through, so you’re not aiming straight at the very end. Flip the onion half around and repeat those same thin slices until it’s all in even ribbons.
Step 2
Melt 2 tablespoons of unsalted butter in a large saucepan or deep skillet over medium heat, swirling the pan occasionally until it’s foamy and just starting to sizzle. Toss in a couple big handfuls of onion slices—think about two cups—and stir constantly with a wooden spoon, letting them soften and turn almost glassy along the edges, about a minute or two. Grab another handful of onions and repeat, adding them in batches and giving each round a good stir so nothing sticks or browns too fast. Once all the onions are in the pan, sprinkle in a tiny pinch of kosher salt to wake up their sweetness and keep the cooking moving along.
Step 3
Lower the heat to medium-low and give the onions another good stir. You're aiming for a slow, steady sizzle—nothing too aggressive. Keep an eye on the pan; if you see any stubborn brown spots forming, dial the heat down a notch right away. We’re looking for a soft, even golden crust, about 15–20 minutes from now.
Step 4
Keep those onions sizzling over medium-low heat, giving the pan a quick scrape with your spatula every minute or two so nothing sticks. If you notice the fond starting to darken faster than the onions are browning, pour in a scant tablespoon of low-sodium chicken broth or water—just enough to lift the flavorful bits and keep the fond light. Let them ride until the edges curl into a deep amber crust and the onions smell irresistibly sweet, about 15–20 minutes more. When you tilt the pan and see ribbons of caramel clinging to the slices, you’ll know they’re ready for your patty melt or onion dip.
Step 5
Keep an eye on the pan as the onions deepen in color. You're aiming for a rich, mahogany hue—think dark amber with just a hint of mahogany at the edges. Stir every couple of minutes to prevent sticking and encourage even browning. When the edges look almost blackened and you see tiny, crispy bits forming along the edges, take a quick taste. They should taste sweet and nutty with a whisper of bitterness—like the start of caramel without crossing into burnt territory. If they’re not there yet, give them another 3–5 minutes, stirring often.
Step 6
Here’s the expanded version of Step 6 with clear, conversational instructions while keeping the original intent intact: --- Let the onions sit in the pan for a few minutes after turning off the heat. This gives them time to settle and soften even more, making them easier to handle. If you’re not using them right away, slide them into an airtight container and refrigerate. They’ll keep beautifully for up to a week—just pull them out when you’re ready to add that rich, sweet depth to your dish.
Nutrition Information
My Tip
Slice the onions thinly and evenly—about ⅛-inch thick—for the best caramelization without burning. Keep the heat at medium-low once they start to soften, so the sugars melt slowly and deepen in flavor.
Leftovers
Store leftover caramelized onions in a sealed glass jar in the fridge—they’ll keep their sweet, jammy texture for up to 5 days. Reheat gently in a skillet over low heat, stirring often, until they’re just warm and glossy again.
Make It Your Own
Swap the butter for a glug of olive oil and a splash of balsamic vinegar halfway through caramelizing. The vinegar deepens the sweetness and adds a glossy sheen that’s irresistible on toast or burgers.